AppCleaner Alternatives for Mac: Free, Paid, and the By-Hand Method
AppCleaner is a free Mac utility from FreeMacSoft. You drag an app onto its window, it lists the support files that app left in your Library folders, and you delete them together. People search for AppCleaner alternatives when it stalls, or when they want a tool that fits their macOS version. Every job it does can be done by hand.
This page is a survey, not a ranking. It covers what AppCleaner does, the manual route in full, then the apps people put next to it. None of them is required here, and none is named a winner.
What AppCleaner actually does
AppCleaner for Mac has one job. You give it an app, and it looks for files that app scattered around your home Library folder. Caches, preference files, saved window states, support folders. It shows you the list with sizes, and you delete the whole set in one click.
The drag and drop step is the whole interface. Drop Sublime Text on the window and you get its bundle plus its leftovers, ticked and ready. You can untick anything you want to keep, which matters if you plan to reinstall later and want your settings back.
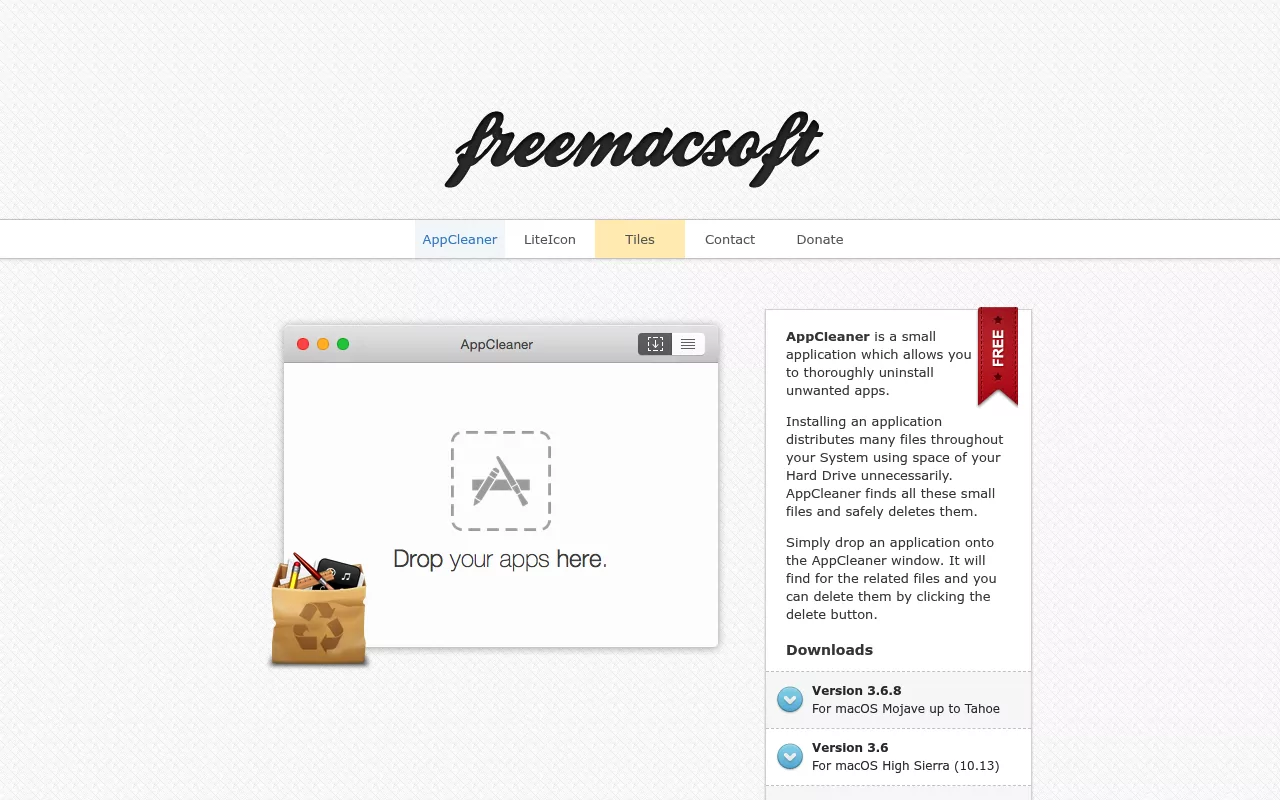
There is an optional setting called SmartDelete. Turn it on and AppCleaner watches your Trash. Move any app there by any route, and AppCleaner opens on its own and offers the matching leftovers. It never deletes on its own, so you still confirm every time.
FreeMacSoft still ships builds for old systems, which is unusual. Version 3.6.8 covers macOS Mojave up to Tahoe. Version 3.6 is for High Sierra, version 3.4 covers 10.10 through 10.12, and version 2.3 goes back to 10.6. The app is free, with a donation link and nothing else to pay.
One limit applies to the whole category. These tools find leftovers by matching names and bundle identifiers against what is on disk. If a vendor files its data under an unrelated name, no uninstaller will link the two.
Why people look for AppCleaner alternatives
The reasons are practical, and none of them mean AppCleaner is bad software. Here is what actually sends people looking.
- macOS version drift. A Mac on a very old system, or a very new one, may need a build the developer has not shipped yet.
- It missed something. A folder stayed behind, or a helper kept launching at login, and the reader wants a second opinion.
- They want more than uninstalling. Some people want the same app to handle updates, login items and browser extensions too.
- Permissions friction. Deleting files owned by root needs an admin password, which is normal for a security suite like Kaspersky. Some tools ask for a helper with wide access, and not everyone wants to grant that.
- Scope worries. Others want the opposite: a small tool that touches nothing beyond the app they named.
- Price and licence shape. Free, one time and yearly subscription all exist here, and people have strong feelings about which they will accept.
Most of those reasons are about fit, not quality. That is why the survey below describes each app instead of scoring it. Your macOS version and your patience for background helpers decide the answer.
The manual method that needs none of these
This is the part the tool reviews skip. You can remove an app and its leftovers with Finder and System Settings alone, plus Terminal for a couple of checks. Nothing to install, and you see every file before it goes. Video walkthroughs of this same sequence are easy to find if you would rather watch one, but the whole method is written out below.
Apple documents the first half of this. Its own guide on how to delete or uninstall apps on Mac tells you to quit the app, look for the vendor's uninstaller, then drag the app to the Trash. It stops there. It says nothing about the support files, which is exactly the gap the rest of this section fills.

Step 1: quit the app and stop its background helpers
Nothing else works properly until the app is fully stopped. Quit it normally first. Then open Activity Monitor from Applications, then Utilities, and search the app name in the box at the top right.
If a process shows up, select it and click the Stop button in the toolbar. Apple's guide on how to quit a process in Activity Monitor explains the difference between Quit and Force Quit. Use Quit first. Force Quit only if the process will not go.
Now deal with the things that restart it. Open the Apple menu, then System Settings, click General in the sidebar, then click Login Items and Extensions. Apple's page on the Login Items and Extensions settings covers both halves of that screen.
Two lists matter. Open at Login holds apps that launch when you sign in. Select the app's row and click the minus button. Below that, App Background Activity lists software allowed to run tasks while closed. Switch off anything belonging to the app you are removing.
Step 2: check for the vendor's own uninstaller first
Some apps ship one, and it is usually the better choice. Look in the app's folder inside Applications for something named Uninstall or Uninstaller. Also check the app's own menus for a Remove or Reset item.
Apple recommends this route for a good reason. A vendor's uninstaller knows about login items, extensions and privileged helpers that a name matching scan would never connect to the app. Anything installed with a .pkg file is especially likely to have parts outside the app bundle.
Step 3: remove the app bundle
Open Finder and click Applications in the sidebar. Drag the app to the Trash, or select it and choose File, then Move to Trash. If macOS asks for a name and password, use an administrator account.
A few apps live in the Applications folder inside your home folder instead. Choose Home from the Go menu to check there. Apps that macOS itself installs cannot be removed this way at all, which is why removing Safari on a Mac works differently from removing anything you downloaded.
Step 4: open your home Library folder
The leftovers live in a folder Finder hides by default. The quickest way in is the Go to Folder window. In Finder, choose Go, then Go to Folder, or press Shift, Command and G together.
Type the path you want and press Return. Apple's page on going directly to a specific folder describes the same window. Start by typing ~/Library to open the Library folder inside your home folder.
The tilde matters. ~/Library is yours alone. /Library without the tilde is shared by every account on the Mac, and files there often need an admin password. Both hold leftovers, so check both.
Step 5: the six places leftovers actually live
Work through these in order. In each one, look for a folder or file carrying the app name or the vendor name. Drag what you find to the Trash rather than deleting it, so you can put it back if you guessed wrong.

- ~/Library/Application Support holds the biggest items. Databases, downloaded content, plugin folders, licence files. This is usually where the gigabytes are. Look for a folder named after the app or the company.
- ~/Library/Caches holds temporary files the app can rebuild. Folders here are normally named with a reverse domain, like com.vendorname.appname. Deleting a cache folder is the safest thing you will do today.
- ~/Library/Preferences holds settings files ending in .plist. The naming rule is the same reverse domain pattern, so com.vendorname.appname.plist is the shape to look for. Quit the app before you touch these, because macOS keeps preferences in memory and can write them back.
- ~/Library/Containers and ~/Library/Group Containers hold data for sandboxed apps, which includes anything from the App Store. A container folder is named for the bundle identifier, so com.vendorname.appname again. Group Containers is shared between apps from the same developer, so leave it alone if you still use another app from that vendor.
- ~/Library/LaunchAgents, /Library/LaunchAgents and /Library/LaunchDaemons hold the .plist files that start background processes. This is the group that explains a helper you thought you removed. Apple's archived guide on creating launchd jobs names these exact folders and explains when each one loads.
- ~/Library/Saved Application State holds the window layout the app reopens with. Folders here end in .savedState. Harmless to keep, tidy to remove.
Two of the six do the real work. Application Support is where the space is, and the LaunchAgents group explains anything that keeps coming back.
Step 6: the less common places worth one look
If something still feels left behind, try these next. Most apps use none of them.
- ~/Library/Logs and /Library/Logs for crash and activity logs.
- ~/Library/HTTPStorages and ~/Library/WebKit for apps that show web content.
- ~/Library/Application Scripts for sandboxed apps with extensions.
- /Library/Application Support and /Library/Preferences for anything installed for all users.
- /Library/PrivilegedHelperTools for the small helper binaries that run with admin rights.
- ~/Library/Services and /Library/Services for menu items the app added.
Security software is the usual reason this list matters. A suite spreads further than a text editor, which is why removing Kaspersky from a Mac and removing Trend Micro from a Mac both need the privileged helper and daemon folders, not just Application Support.
Step 7: confirm nothing is still running
This is the step that turns a hopeful cleanup into a finished one. Three checks, in order.
- Open Activity Monitor again and search the app and vendor name. An empty result is what you want.
- Open Terminal from Applications, then Utilities, and run launchctl list. Add a pipe to grep and the app name to filter it. Apple's Terminal user guide covers the basics if the app is new to you.
- Restart the Mac, then check Activity Monitor once more. A helper that survives a restart still has a .plist in one of the LaunchAgents or LaunchDaemons folders.
Then empty the Trash. Until you do, the space is still in use. Work through this on a real app and the whole thing takes about five minutes, which is the honest comparison against installing a utility.
Apps people compare it with
These are the tools that come up most often. Descriptions only, in no particular order. Prices and system requirements were checked against each developer's own pages in September 2026, and they do change.
Pearcleaner
A free Mac app uninstaller that its own developer calls source available and fair code, not open source. The licence is Apache 2.0 with the Commons Clause, which lets you read and change the code but blocks anyone from selling it.
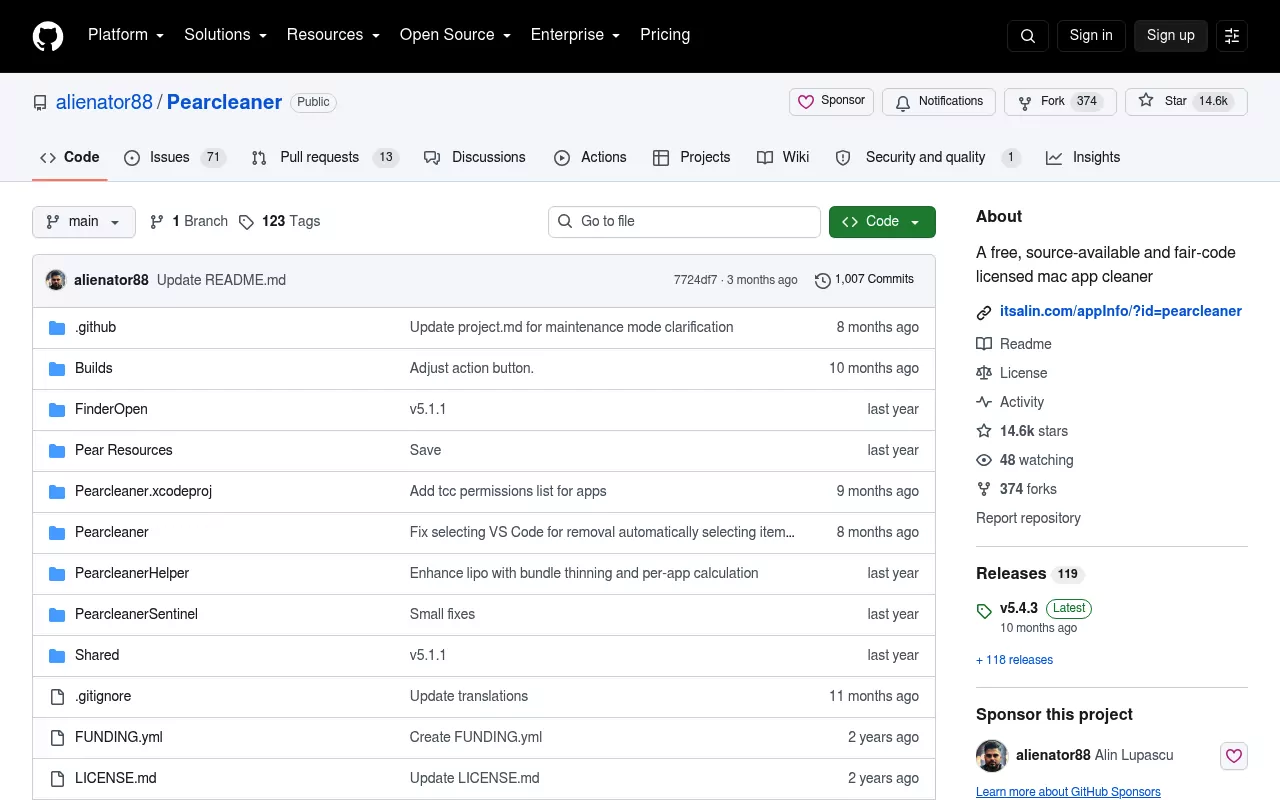
It does far more than uninstall. The feature list includes orphaned file search, a Homebrew manager, a package manager, a plugin manager and an app updater. There is a Finder extension for right click removal and a command line mode. You install it from GitHub releases or with Homebrew.
It requires macOS 13 Ventura or later, and the developer supports Ventura, Sonoma, Sequoia and Tahoe. Notable limitation: that macOS 13 floor rules out plenty of working Macs, and the wide feature set is more surface than some people want.
AppZapper
The oldest name here, first released in 2006. The current release is AppZapper 3000, version 1.0, and it leans into a playful look with animated zap effects and swappable themes. The workflow is still drag, drop and confirm.
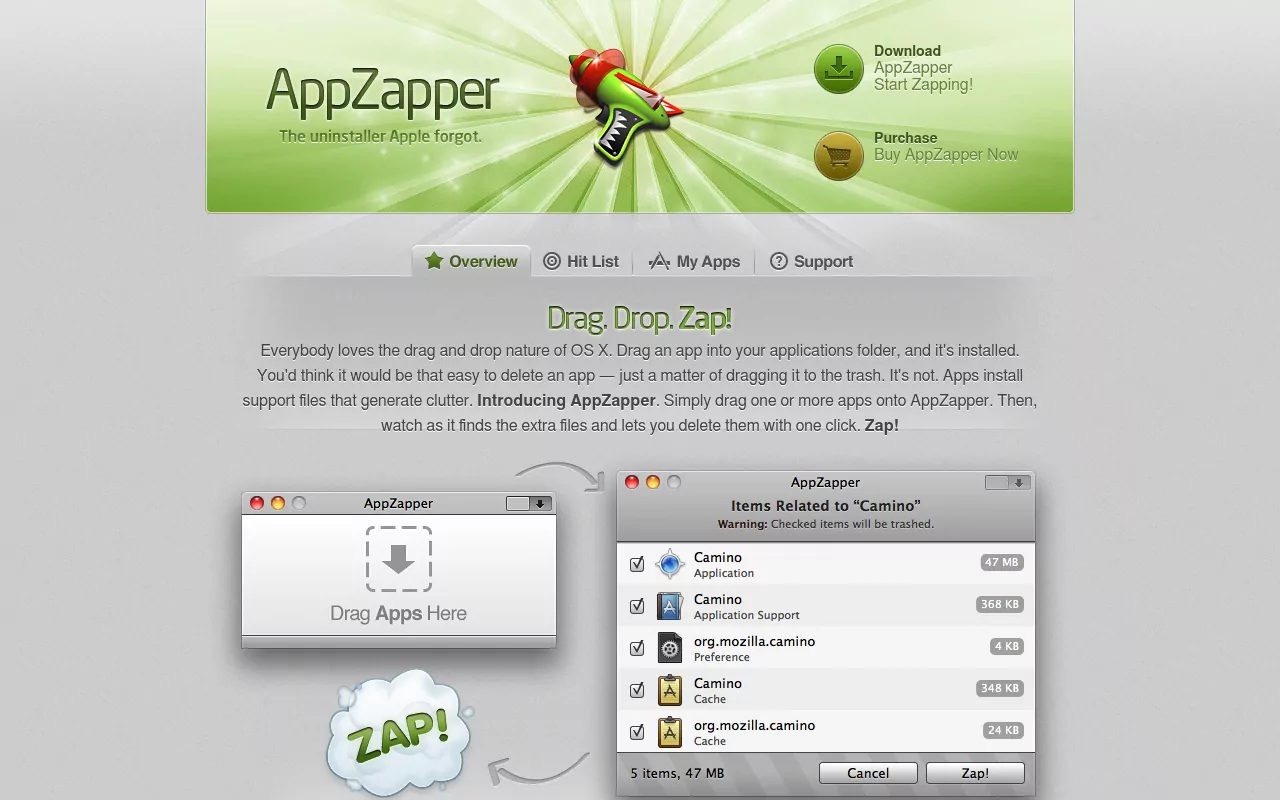
Licences are one time, bought through the developer's own checkout. A single user licence for one Mac is $18. A family pack covering up to five Macs is $29, and an enterprise licence for up to 25 Macs is $99. You can try it first with three free zaps.
It requires macOS 15 or later. Notable limitation: that is the strictest floor in this group, so a Mac on Sonoma or Ventura cannot run the current release at all. The theming is also a matter of taste.
TrashMe
A French developer's app that treats uninstalling as one feature among several. TrashMe 3 is at version 3.7.5, runs on macOS 10.13 or later, is ready for macOS Tahoe, and is notarised by Apple. It works on both Intel and Apple silicon.
Alongside removal it does junk cleanup, duplicate finding and app update checks. A Smart Detection setting offers a clean uninstall when you put an app in the Trash, which is the same idea as AppCleaner's SmartDelete. A Favourites list stores registration details such as licence keys and invoices for apps you want to keep track of.
TrashMe 3 costs €16.99 as a one time licence, with a 30 day money back guarantee and an upgrade price for TrashMe 2 owners. TrashMe 2 is still sold and runs on macOS 10.7 or later. Notable limitation: most of what you pay for is not uninstalling.
App Cleaner and Uninstaller by Nektony
A freemium app with a limited free tier. There is a two day trial of the paid features, after which the free version keeps working with less. It is notarised by Apple, and the developer lists support for macOS 11.0 through 27.
Beyond removal it manages app updates, login and background items, and extensions such as preference panes and old internet plugins. It also removes several apps in one pass, which is faster than doing them one by one.
Read the pricing carefully. The headline plan is a subscription: €12.84 a year for one Mac, or €6.83 a month. A one time licence for one Mac exists at €30.02. Notable limitation: the default path is a yearly subscription for a task most people do a few times a year.
Osx Uninstaller
A single purpose paid app with a plain three step flow: pick the app, click Run Analysis, review what it found, then click Complete Uninstall. It handles apps installed from .dmg, .pkg and .mpkg packages, which is the case where leftovers are most likely.
Licences are one time with no subscription. One Mac is $29.95, three Macs is $39.95 and five Macs is $49.95, each described as a lifetime licence with free updates and a 30 day money back guarantee.
Notable limitation: the developer publishes no supported macOS version list on the site, and the current download is still named for 2024. That is thin information for a paid licence at this price. Check it against your macOS version before paying.
Mole
Two things share this name, and the difference matters. The Mole command line tool is free and genuinely open source under GPL 3.0, needs macOS 12 or newer, and installs with Homebrew. You remove apps with mo uninstall, and there is a dry run flag that shows the plan before anything is deleted. It keeps shared data when another copy of the app still needs it.
Mole for Mac is the separate paid app with a window and buttons. It is $19 once, covers two Macs, needs macOS 14 or later, and comes with lifetime updates and a 14 day refund window. It adds disk analysis, maintenance tasks and a menu bar monitor.
Notable limitation: the free half is a terminal tool, so it suits people already comfortable there and nobody else. The dry run flag is a nice touch that the graphical tools mostly lack.
Comparison at a glance
Prices are as listed by each developer in September 2026. Currencies are the ones each store quotes.
| App | Licence and price | What it is for | Notable limitation |
|---|---|---|---|
| AppCleaner | Free, donation supported. | Drag and drop removal, nothing else. | Name matching only, so odd file names get missed. |
| Pearcleaner | Free. Source available under Apache 2.0 with Commons Clause. | Removal plus a wide toolbox, from Homebrew to binary trimming. | Needs macOS 13 or later, and the scope is broad. |
| AppZapper | One time. $18 for one Mac, $29 for five, $99 for 25. | Drag and drop removal with heavy visual styling. | Needs macOS 15 or later, the strictest floor here. |
| TrashMe | One time. €16.99 for TrashMe 3. | Removal bundled with cleanup, duplicates and update checks. | Most of the price is features other than uninstalling. |
| App Cleaner and Uninstaller | Freemium. €12.84 a year, or €30.02 once, for one Mac. | Removal plus updates, login items and extension management. | The default purchase path is a yearly subscription. |
| Osx Uninstaller | One time. $29.95 for one Mac, up to $49.95 for five. | Analyse and remove apps from .dmg, .pkg and .mpkg installers. | No published macOS compatibility list, and a 2024 build name. |
| Mole | Free CLI under GPL 3.0. Paid app $19 once for two Macs. | Terminal removal with a dry run, or a paid app with extras. | The free version is Terminal only. |

There is no score column on purpose. Every row removes apps competently. The differences that will affect you are the macOS floor, the licence shape and how much extra software you want running.
When AppCleaner is not working
Most reports of AppCleaner not working turn out to be one of four things, and none of them needs a different app.

The list comes back almost empty. That usually means the app was sandboxed, so its files sit in a container named for its bundle identifier rather than in obvious places. Check ~/Library/Containers by hand.
Files reappear after deletion. The app or a helper was still running and wrote them back. Go back to Activity Monitor and the Login Items screen, stop everything, then restart before you try again.
It cannot delete some files. Those are owned by the system and need an admin password, or they sit inside a folder macOS protects. Anything under /Library rather than ~/Library falls in this group.
Nothing happens on launch. On a recent macOS, an older build may simply not run. Check which version your system needs before assuming the app is broken. This is also the moment a per app guide beats any tool, because removing Sublime Text on a Mac and removing a security suite are not the same job at all.
Frequently Asked Questions
Which is the best AppCleaner alternative for Mac?
There is no single answer, and this page deliberately does not pick one. The useful question is narrower: which of these runs on your macOS version, and which licence shape will you accept? Answer those two and the list usually shrinks to one or two options.
Is it safe to delete files in my Library folder?
Yes, if you stick to files that clearly belong to the app you are removing. Caches are the safest, because apps rebuild them. Drag things to the Trash instead of deleting them outright, and empty it only after the Mac has run normally for a day.
Is a free Mac app uninstaller good enough?
For removing apps, yes. The free options here find the same categories of file as the paid ones, because they all read the same folders. You pay for extras like bulk removal, update management and support, not for a deeper clean.
How does Pearcleaner compare with AppCleaner?
Pearcleaner is the bigger app and covers far more ground, including Homebrew and package management. AppCleaner does one thing and runs on much older systems, back to 10.6 with the right build. Pearcleaner needs macOS 13 at minimum, so on an older Mac the comparison ends there.
Will removing leftovers break the app if I reinstall it?
It will not break, but it will forget. Preferences, licence keys and local data all live in the folders you cleared. If you plan to reinstall, untick the Preferences and Application Support items and keep them.
Does macOS already remove app leftovers on its own?
No. Apple's own instructions stop at dragging the app to the Trash, and say nothing about support files. That is why the manual steps above exist, and why removing app leftovers on a Mac is a separate job from deleting the app.
Where to go from here
If you came looking for a replacement tool, you may not need one. Finder and System Settings reach every folder these tools read, so you can uninstall an app completely on a Mac with what you already have. A tool saves clicks and remembers the folder list for you. That is convenience, not capability.
What helps more is knowing where a specific app hides its parts, because that is where general advice runs out. A text editor and a security product like Trend Micro leave very different trails. Our per app removal guides cover exactly that: what the app installs and where, whether the vendor ships an uninstaller and what it really removes, the manual steps for the leftovers, and a closing check that nothing is still running. Every one is done by hand, with nothing to download.